

Inserting Progress Updates
Starting the “Progress Update” mode is very easy and requires three steps:
1. Open the project file (.xer file) in which you want to insert a proposal for updates;
2. Select the Activities view;
3. In the Progress Update ribbon, click on the Progress Update Mode.
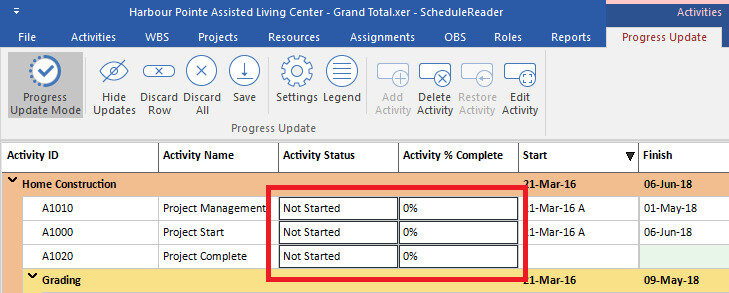
The Activity table will be slightly changed and you will see some of the fields are framed with tiny black lines, as it is presented in the image below. These are fields for updating.
The next steps are for inserting the updates:
1. Double click on the Activity Status cell;
2. Drop-down list will be opened, as in the image below. Select “In progress” if you are working on the activity or “Completed” if the activity is finished;

3. Insert value in Activity % Complete;

4. Save the updates.
Fields Available for Updates
The following fields are available for updating:
Activity View:
- % Complete;
- Actual Start;
- Actual Finish;
- Activity Status;
- Activity Code;
- Remaining Duration;
- User-Defined Fields.
Assignment View:
- % Unit;
- Actual Start;
- Actual Finish;
- Remaining Units;
- Remaining Units/Time.
Progress Updates in Bottom view
Another option for updating the project assignments is by using the Bottom view in the Activity ribbon. The process is similar like the “ordinary” progress update:
- 1. Open the project file (.xer file) in which you want to insert proposal for updates;
- 2. Select the Activities view;
- 3. In the Progress Update ribbon, click on the Progress Update Mode.
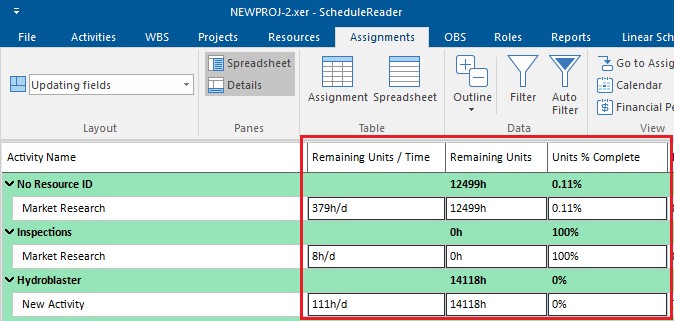
Beside the Activity table, the Assignment table will be slightly changed and you will see some of the fields are framed with tiny black line, as it is presented in the image below. These are fields for updating.
To update the fields that are available in Assignment table, using the Bottom view in Activity view, perform the following steps:
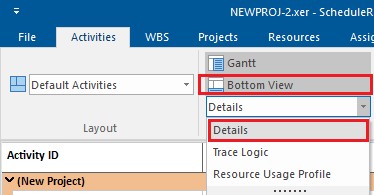
1. In the Bottom view drop-down menu, select the “Details” option;
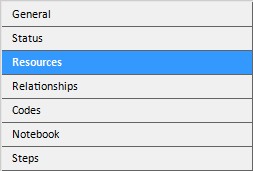
2. Once the Details are applied in the bottom section, select one activity from the project plan and click on the “Resources” tab.
3. The look of the resource table is presented on the image below.

4. To insert the assignment fields in the resource table, like Remaining Units or Units % Complete, click on the “Resources” table in Activity ribbon.
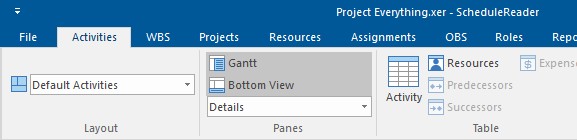
5. Using the dialog insert the required fields in the table.
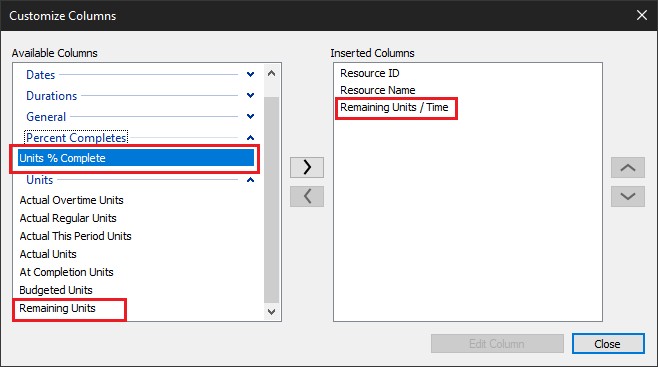
6. Insert the updated.
